Segmenting the Homelab: OPNsense and Remote Access With Tailscale
Proxmox was up. Ubuntu Server was running as my first VM. And every part of that lab sat on the exact same flat home network as my phone and everything else in the house.
That bothered me before the first build was even finished. A typo’d scan target, a compromised VM during malware analysis, a misconfigured rule somewhere down the line, any of those could reach devices that had nothing to do with the lab. Fixing that meant building real network segmentation, and getting there took a second SIEM-adjacent VM, a firewall, and a lot more troubleshooting than I expected.
Picking a firewall
The plan was straightforward on paper: a second internal bridge inside Proxmox with no physical NIC attached, a firewall VM straddling both networks, and every lab VM migrated behind it. pfSense was the obvious first choice, it’s the name everyone learning network security runs into first.
Then I actually tried to download it. pfSense CE now routes through the Netgate Store, requires a free account, and installs through an online installer that fetches packages during setup rather than shipping a self-contained image. Netgate’s own forums are full of 2025 and 2026 threads describing repo failures and installs that silently fall back to plain FreeBSD instead of pfSense. After the fight I’d already had getting a bootable USB stick working for Proxmox, I wasn’t interested in repeating that with an installer known to have its own reliability problems.
OPNsense, forked from pfSense back in 2014, still offers a direct ISO download with no account gate. Same underlying FreeBSD concepts, same firewall logic, and it turned out to have better native WireGuard support too, which mattered later. I switched plans and never looked back.
The install that would not cooperate
Getting OPNsense running on the OptiPlex took four attempts, and each one taught me something.
The first install aborted mid-partitioning with a warning that 2GB of RAM wasn’t enough for the live installer to comfortably copy its filesystem. I proceeded anyway, thinking it was just a caution. It wasn’t. The install failed and left the disk in a half-partitioned state.
The second attempt hit “Partition destroy failed” trying to clean up what the first attempt left behind. I dropped into the installer’s own FreeBSD shell and ran dd if=/dev/zero of=/dev/da0 bs=1m count=10 to zero out the first 10MB of the disk directly, wiping the leftover GPT metadata the installer couldn’t clean up on its own. That got me past the partitioning error, but the VM then booted with a “vm_fault: pager read error” loop, an unreadable filesystem from two interrupted installs stacked on top of each other.
At that point I stopped patching and deleted the VM outright. Rebuilt it clean, bumped memory to 3072MB just for the install, and moved the disk from IDE to a proper VirtIO SCSI controller. That version installed without a single error, root password set, GPT partitioning clean, UFS filesystem intact.
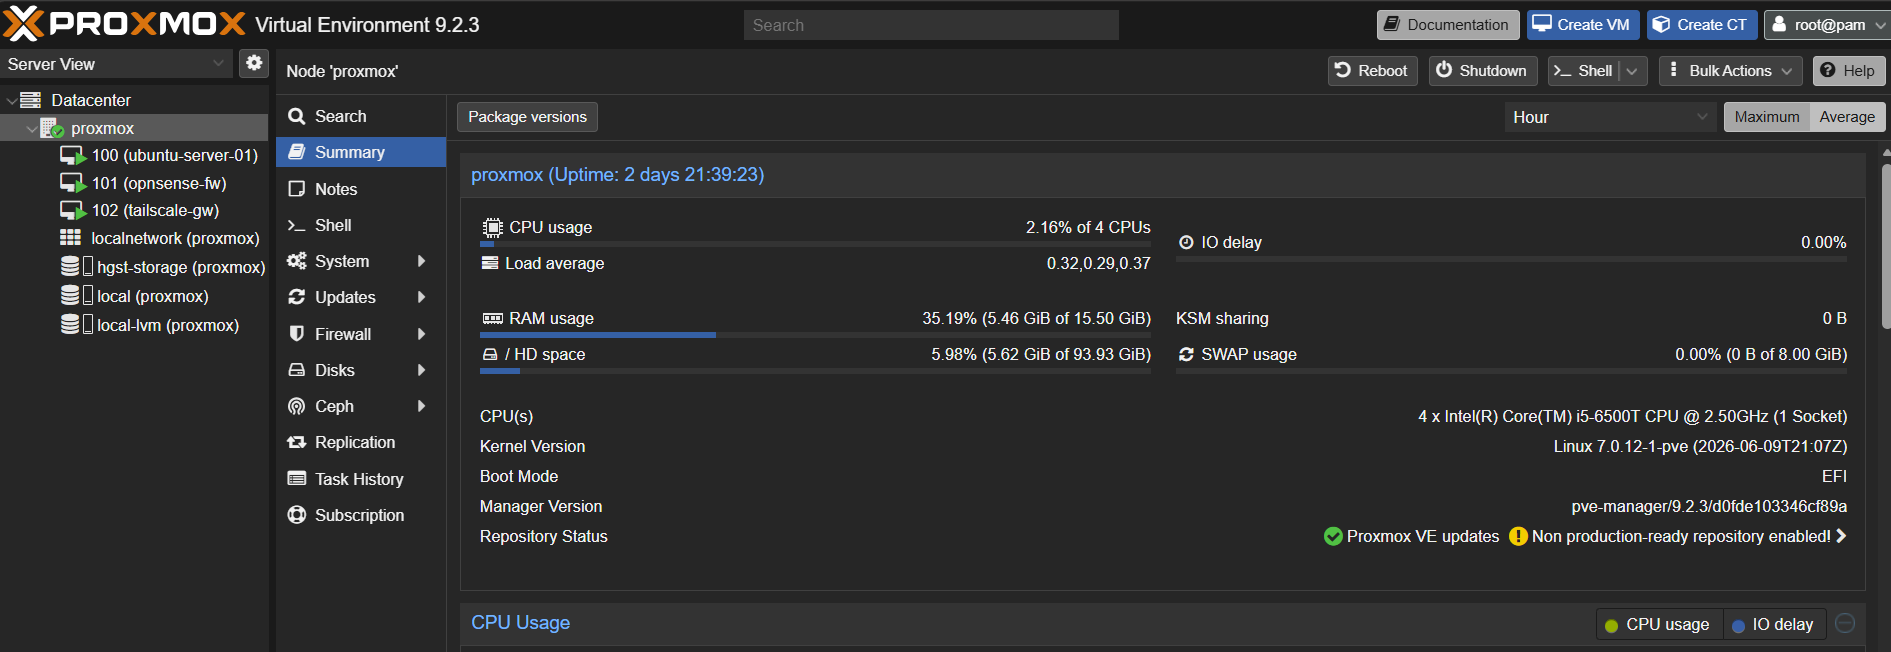
Fixing the subnet nobody asked about
OPNsense ships with LAN defaulting to 192.168.x.1/24, the identical subnet my WAN interface was already pulling from my home router. Identical WAN and LAN subnets break routing entirely, and I caught it by reading the console output rather than assuming the defaults were sane.
I reassigned LAN to 10.x.x.1/24, turned on its DHCP server with a range of 10.x.x.100 to 10.x.x.200, and regenerated the self-signed web certificate so it actually matched the new address. WAN kept pulling its address from my home network over DHCP, same as before.
Once that was set, the real test wasn’t whether the GUI loaded. It was pinging in both directions from inside a VM sitting on the lab network. A ping to 1.1.1.1 came back clean, four packets, zero loss, confirming NAT and the WAN gateway both worked. A ping to my ThinkPad’s address on the home network timed out completely, four packets sent, zero received. That’s the actual proof the segmentation was real rather than theoretical: the lab could reach the internet and nothing else on my home network could see it at all.
A jump host instead of a hole in the firewall
With OPNsense’s web interface sitting on the isolated LAN side, my ThinkPad had no direct route to it anymore, which is the entire point. The tempting shortcut was opening a WAN rule to let myself in. I didn’t want a rule sitting there that I’d inevitably forget to remove later.
Instead I gave the Proxmox host itself an address on the lab bridge (10.x.x.2) and built an SSH config on my ThinkPad using ProxyJump, so reaching any lab VM is one command instead of a manual tunnel every time:
Host ubuntu-lab
    HostName 10.x.x.10
    User <lab-user>
    ProxyJump proxmox
ssh ubuntu-lab now authenticates through Proxmox as a bastion host and lands directly on the target VM. It’s the same pattern real organizations use to reach segmented internal networks, and building it by hand made the concept click in a way reading about it never did.
Getting off the home network entirely
None of this helped if I was standing in a coffee shop. Everything so far only worked from inside my own house.
A VPN server running on OPNsense itself was the obvious next move, until I worked through what it would actually require: my ISP router would need to forward a port to a VM whose WAN interface sits on a private address, not a public one, meaning double NAT or bridging my ISP router into passthrough mode just to make an inbound connection possible. Tailscale sidesteps all of it. No inbound ports, no router changes, the tunnel establishes outbound from both ends.
I built a third VM, tailscale-gw, on the lab network. It hit the same wall the OPNsense install did, the Ubuntu installer pegged a single CPU core to 100% and hung during setup. I recognized the pattern immediately this time: stop, bump the resources temporarily, reinstall clean, then drop them back down once it’s actually running. One core and 1GB is plenty for a VM whose only job is running a routing daemon at rest.
Tailscale itself took three commands: install, enable IP forwarding, then bring the tunnel up while advertising the entire 10.x.x.0/24 subnet as a route. Tailscale doesn’t auto-trust advertised routes, a deliberate safety check, so I approved it manually from the admin console before it actually started forwarding anything.
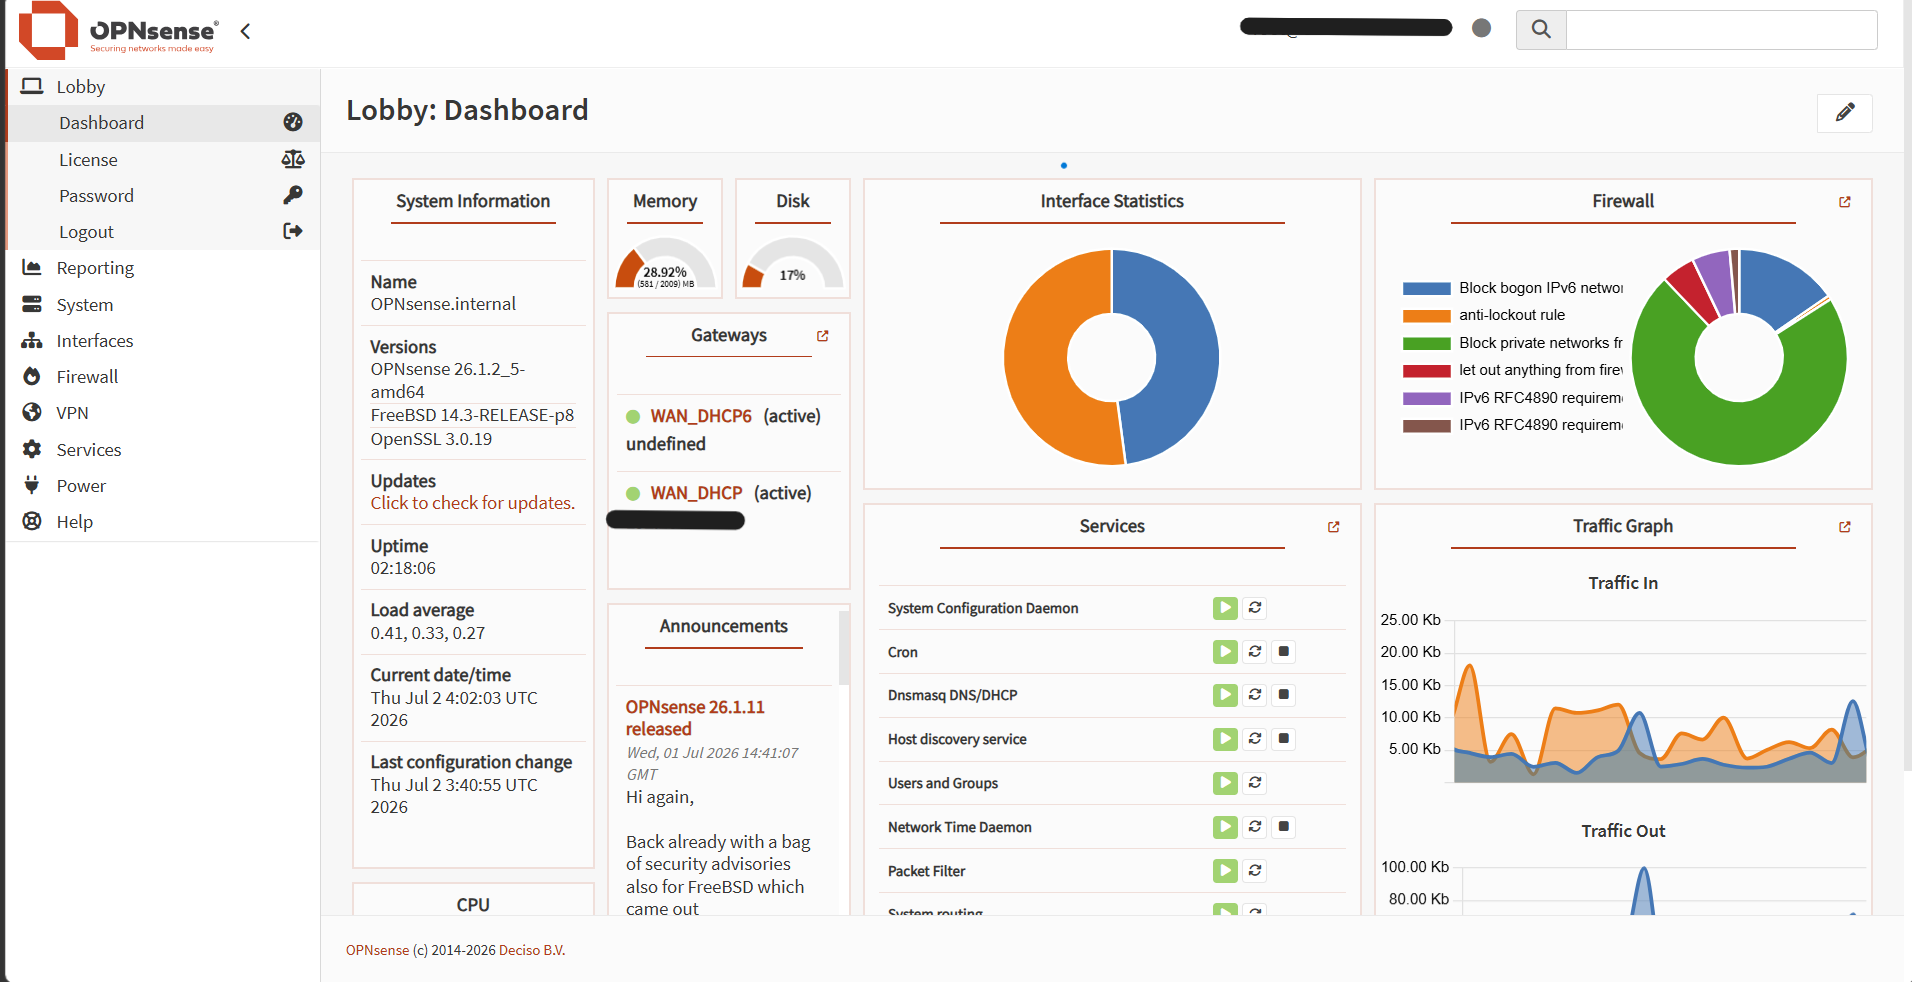
With the Windows client installed and the route approved, every host on the lab subnet became directly reachable by its 10.x.x.x address from any Tailscale-connected device, home network or not. The SSH jump host and tunnel setup I’d just finished building became redundant for remote use, though it still works exactly the same way from inside the house.
One thing I deliberately left out: Proxmox itself never got a Tailscale identity. The lab subnet is what I want reachable from anywhere. The hypervisor controlling the physical box stays reachable only from my home network. If a Tailscale account is ever compromised, the blast radius stops at the VMs, not at the thing running them.
Where it stands
Three VMs now: Ubuntu Server behind the firewall, OPNsense running the segmentation, and a Tailscale gateway routing lab traffic to wherever I happen to be. Home network and lab network verified isolated in both directions, not assumed. Remote access working without a single forwarded port.
Next up is the actual analyst work this was all built for: picking between Wazuh and Elastic Stack for the SIEM, then getting Kali on the lab network to start generating something worth detecting.