Building a Cybersecurity Homelab on the Cheap: Proxmox Foundation
I’m transitioning from IT infrastructure into cybersecurity, specifically targeting SOC analyst roles. Certifications are part of the path, but they only get you so far. Hiring managers want to see hands-on work, and that means a homelab.
Problem: I had close to zero budget for this.
This is how I got from rummaging through old hardware to a working Proxmox virtualization host, what I learned along the way, and the mistakes I made so you don’t have to.
Why a Homelab Matters for SOC Work
Reading about Wireshark is not the same as capturing your own traffic. Watching a YouTube tutorial on Elastic Stack is not the same as ingesting logs from a VM you built yourself. The whole point of an analyst lab is to break things, observe them, and learn how attacks actually look on the wire and in the logs.
I already hold CC, Fortinet FCA, Certified Zero Trust Practitioner, Certified Threat & Malware Analysis, AZ-900 Azure Fundamentals, and a TAISE cert. I’m working on MD-102. None of that replaces actually doing the work, and the homelab is how I plan to close that gap.
The Hunt for Hardware
I work on an MSI Leopard gaming laptop as my daily driver and a Lenovo ThinkPad X1 Yoga Gen 7 as my secondary. Neither was going to become a dedicated lab machine. The MSI is my work environment. The X1 only has 16GB of soldered RAM, and once Windows takes its cut there isn’t enough left to run multiple VMs concurrently the way I wanted.
I needed a third machine, cheap and dedicated. Used business mini PCs are the usual recommendation because they show up everywhere on local marketplaces after corporate refresh cycles. I ended up with two: a Dell OptiPlex 3050 Micro and a Lenovo M720q.
The 3050 came with an i5-6500T, 16GB DDR4, and a 512GB NVMe SSD. The M720q had an i5-8400T, a 6-core chip and meaningfully better than what the 3050 shipped with. My plan was to transplant the better CPU into the 3050.
That plan died fast. Both CPUs use the LGA1151 socket physically, but Intel changed chipset requirements between 6th and 8th gen. The 3050’s 100-series board would not accept the 8400T even though it physically seated. Frustrating piece of trivia that cost me time, but a real lesson: socket compatibility is not chipset compatibility.
The M720q itself was a non-starter anyway. Burn mark near the CPU socket, which almost always means a VRM failure. Not worth repairing on a consumer mini PC.
Salvaging What I Could
I stripped the M720q for usable parts: RAM, the i5-8400T (useless to me now but worth keeping for a future build), and three 2.5” SATA drives. A WD Black 750GB from 2013, an HGST 1TB from 2014, and a WD Black 500GB from 2017. All spinning disks, all old, all worth checking before committing them to anything.
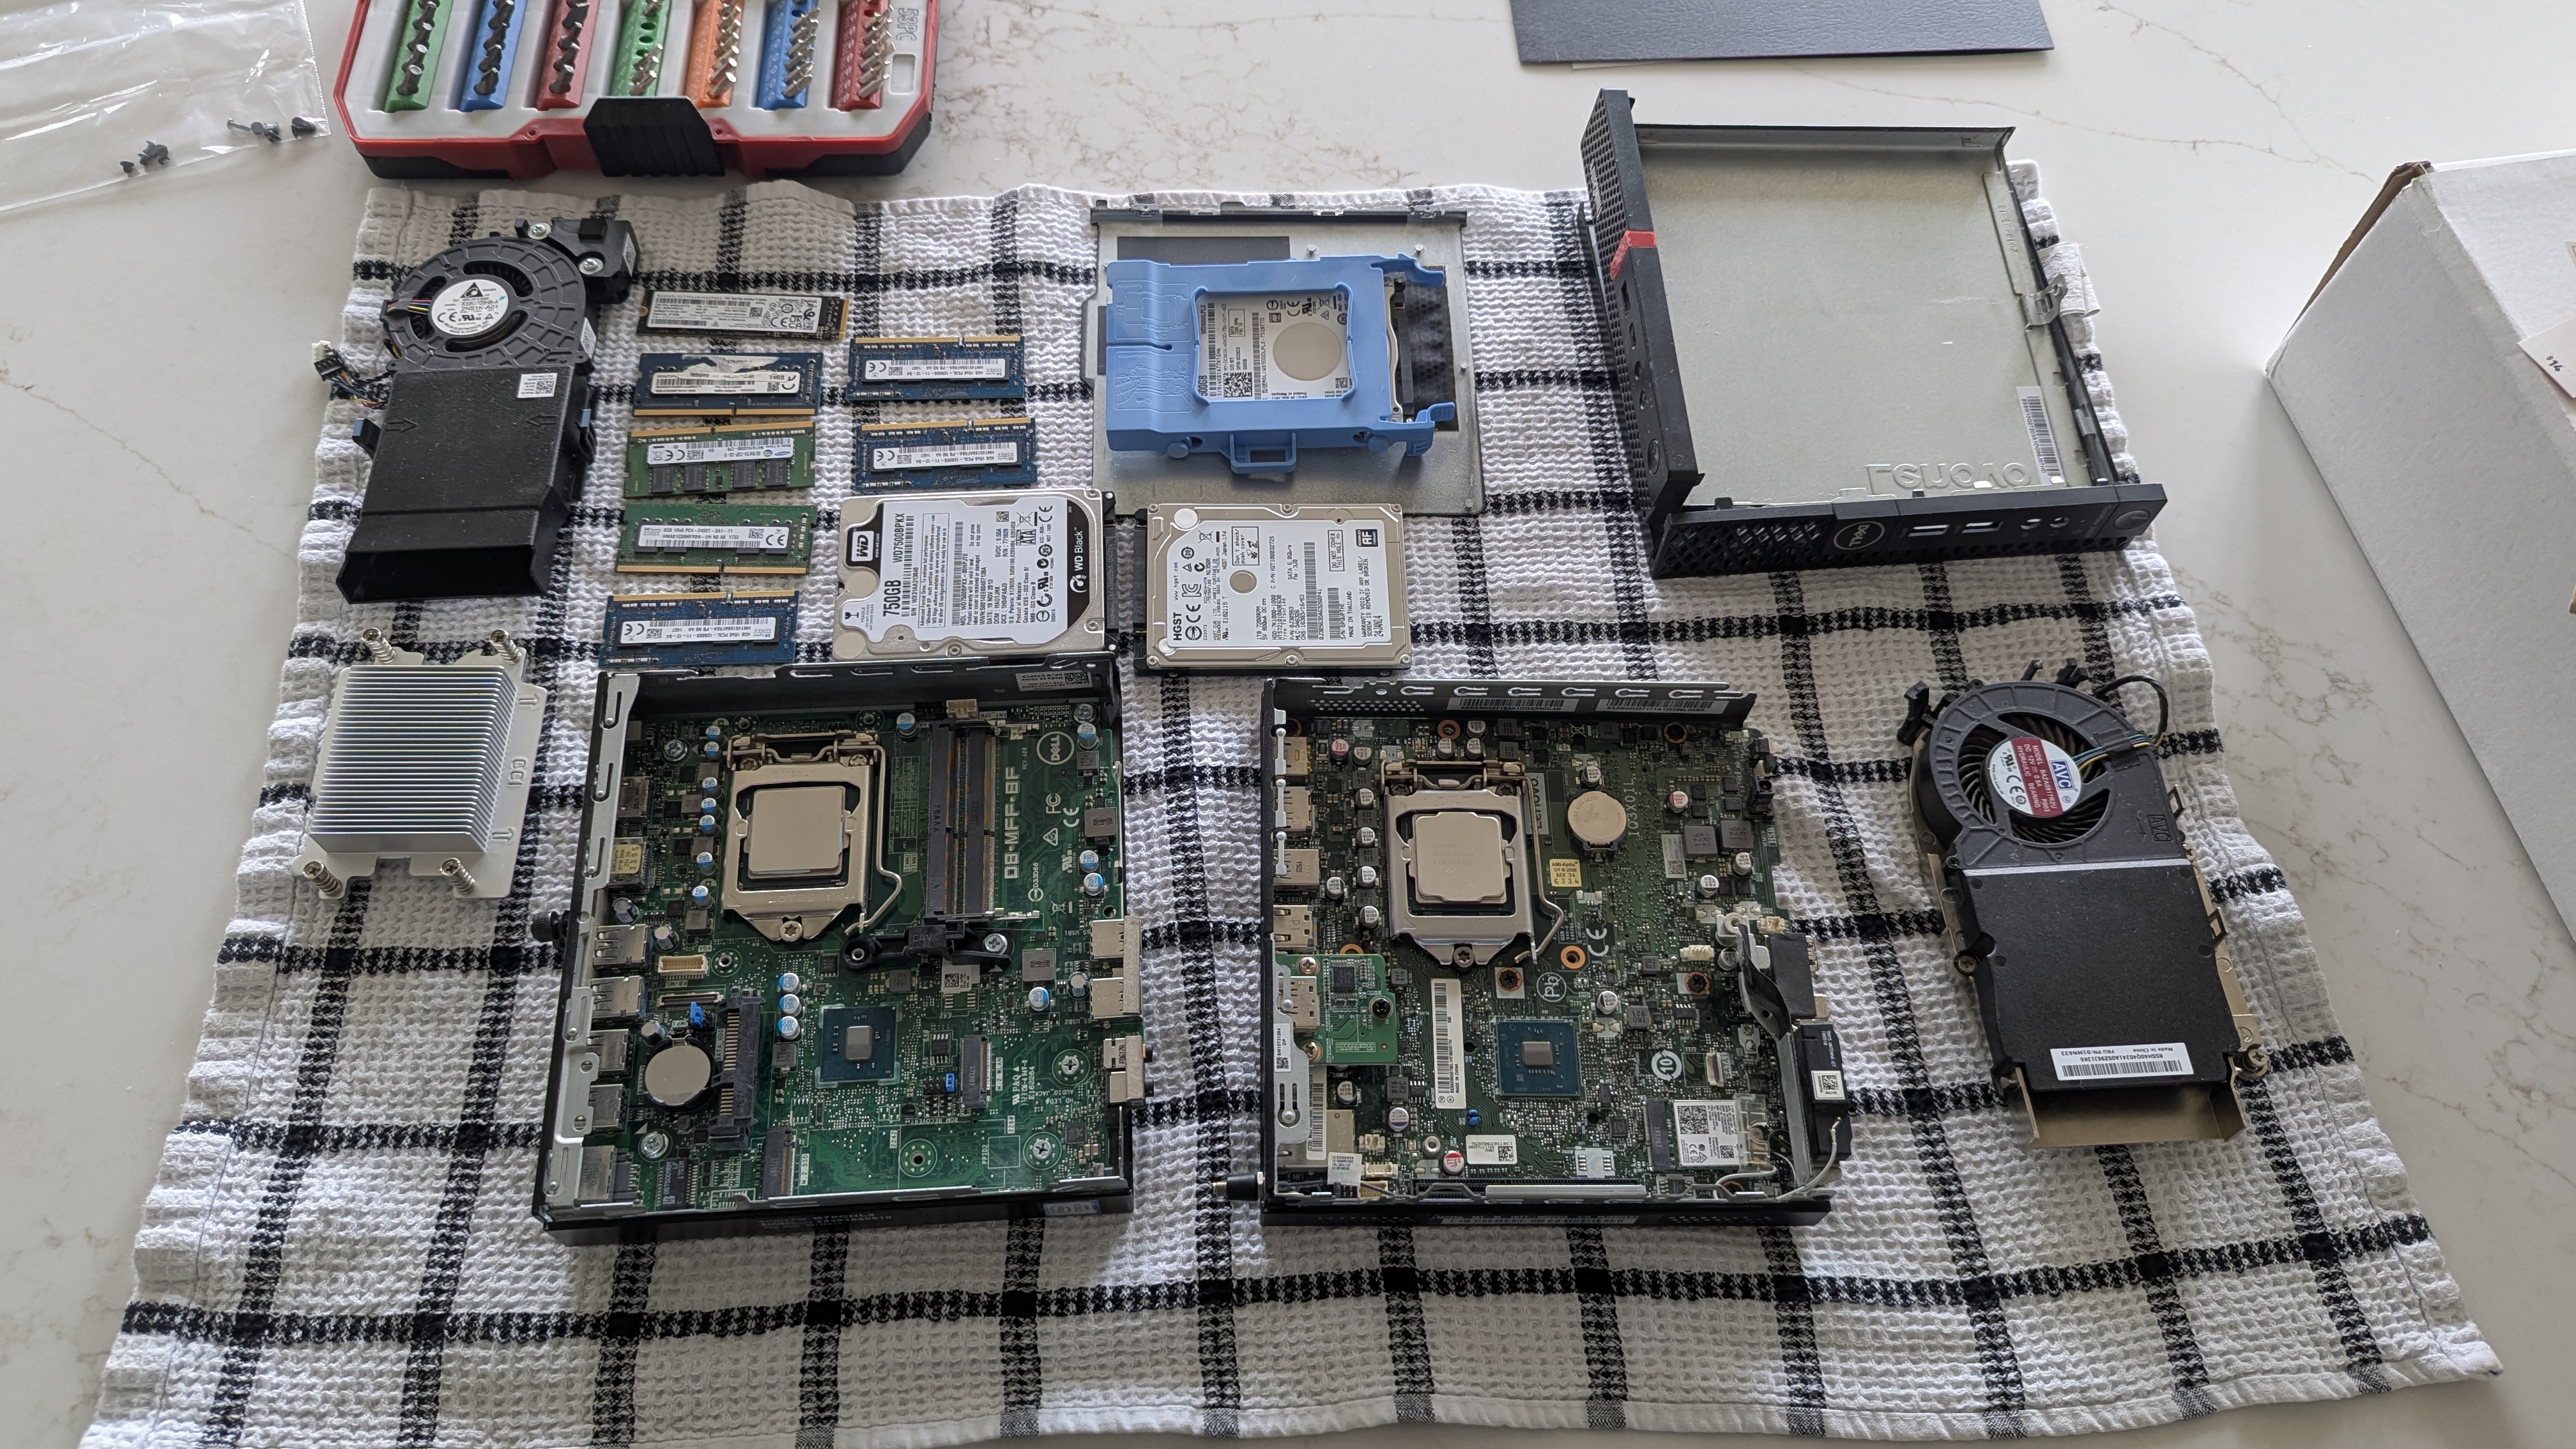
The Dell already had a 2.5” caddy installed with the 500GB WD inside. The HGST 1TB had the best capacity-to-age ratio, and HGST built a strong reliability reputation before Western Digital acquired them. That one became my secondary storage candidate. The NVMe stays as the boot drive for Proxmox and active VM disks. The SATA drive will hold ISOs, backups, and snapshots. Fast primary, bulk secondary. Standard homelab pattern.
I wanted 32GB to run my full lab stack concurrently. DDR4 SODIMM prices in 2026 are genuinely brutal, $240 for a 2x8GB matched pair on Amazon at the moment. Someone locally was selling a single 16GB Timetec stick for $80, which sounds tempting until you do the math. The 3050’s 6500T caps memory speed at 2133MHz regardless of what’s installed. Dropping a single 16GB stick alongside one of my existing 8GB sticks also breaks dual-channel mode, which hurts memory bandwidth more than the extra capacity helps for virtualization workloads.
So I left it. 16GB for now, watching Facebook Marketplace and Kijiji for a used matched pair. The lab will function fine at 16GB until then.
The Installation War
Reassembly was the easy part. Cleaned the dust out of the heatsink fins, applied fresh thermal paste to the 6500T, reseated everything. Initial POST and a 3-hour memory test passed clean.
Then the install started, and things got stupid.
I downloaded the Proxmox VE 9.2-1 ISO and tried to flash it to a no-name 16GB USB stick using Rufus 4.14. It threw “Failed to scan image” and never offered the DD-mode prompt that Proxmox hybrid ISOs require. Tried balenaEtcher next. It complained about a missing partition table, I clicked through, and the resulting USB wouldn’t boot. Tried Ventoy. The splash loaded fine on the 3050, but selecting the Proxmox ISO threw “chain empty failed” in legacy mode and “No bootfile found for UEFI” after I switched the BIOS to UEFI.
Through all of this, the no-name USB stick kept corrupting itself. Every time I tried it on the 3050, it came back unreadable on my ThinkPad. Diskpart clean would resurrect it once, then it would die again on the next attempt.
Eventually I gave up on the cheap stick and grabbed a 128GB SanDisk. Different story entirely. Rufus 4.14 with a freshly re-downloaded ISO, DD mode auto-selected, write completed clean.
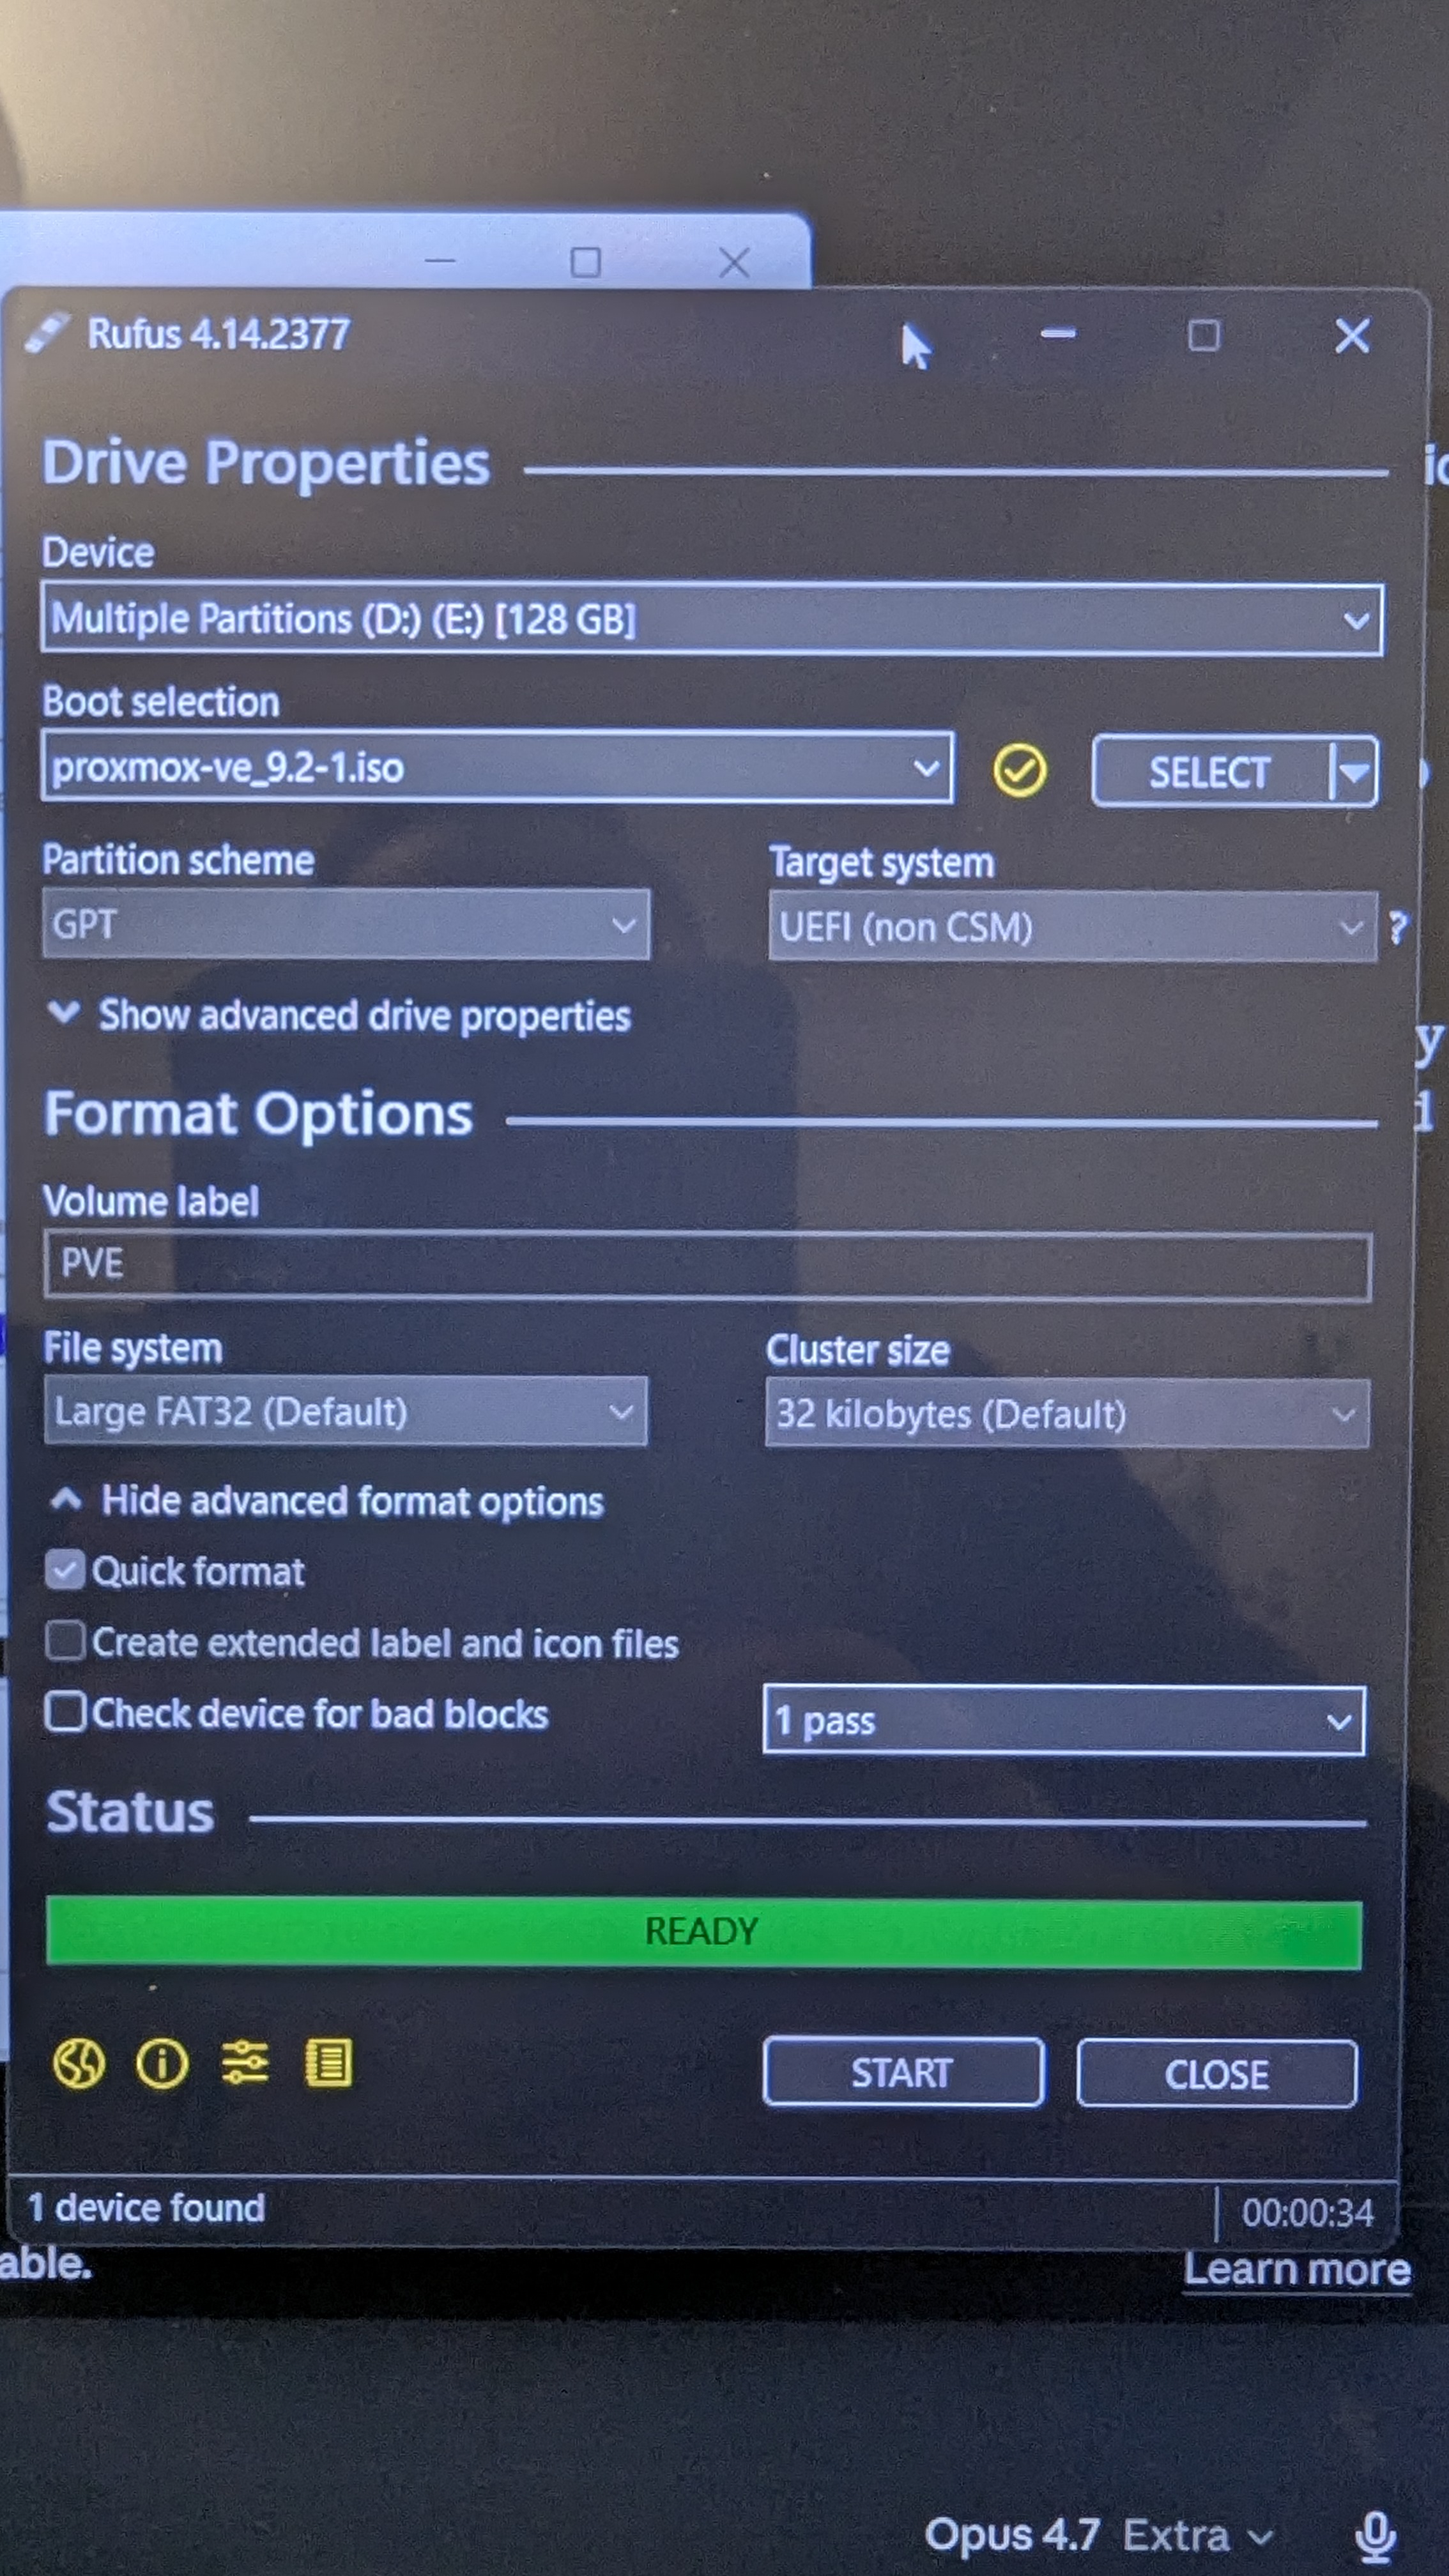
Plugged into the 3050 in UEFI boot mode, and the Proxmox installer finally launched.
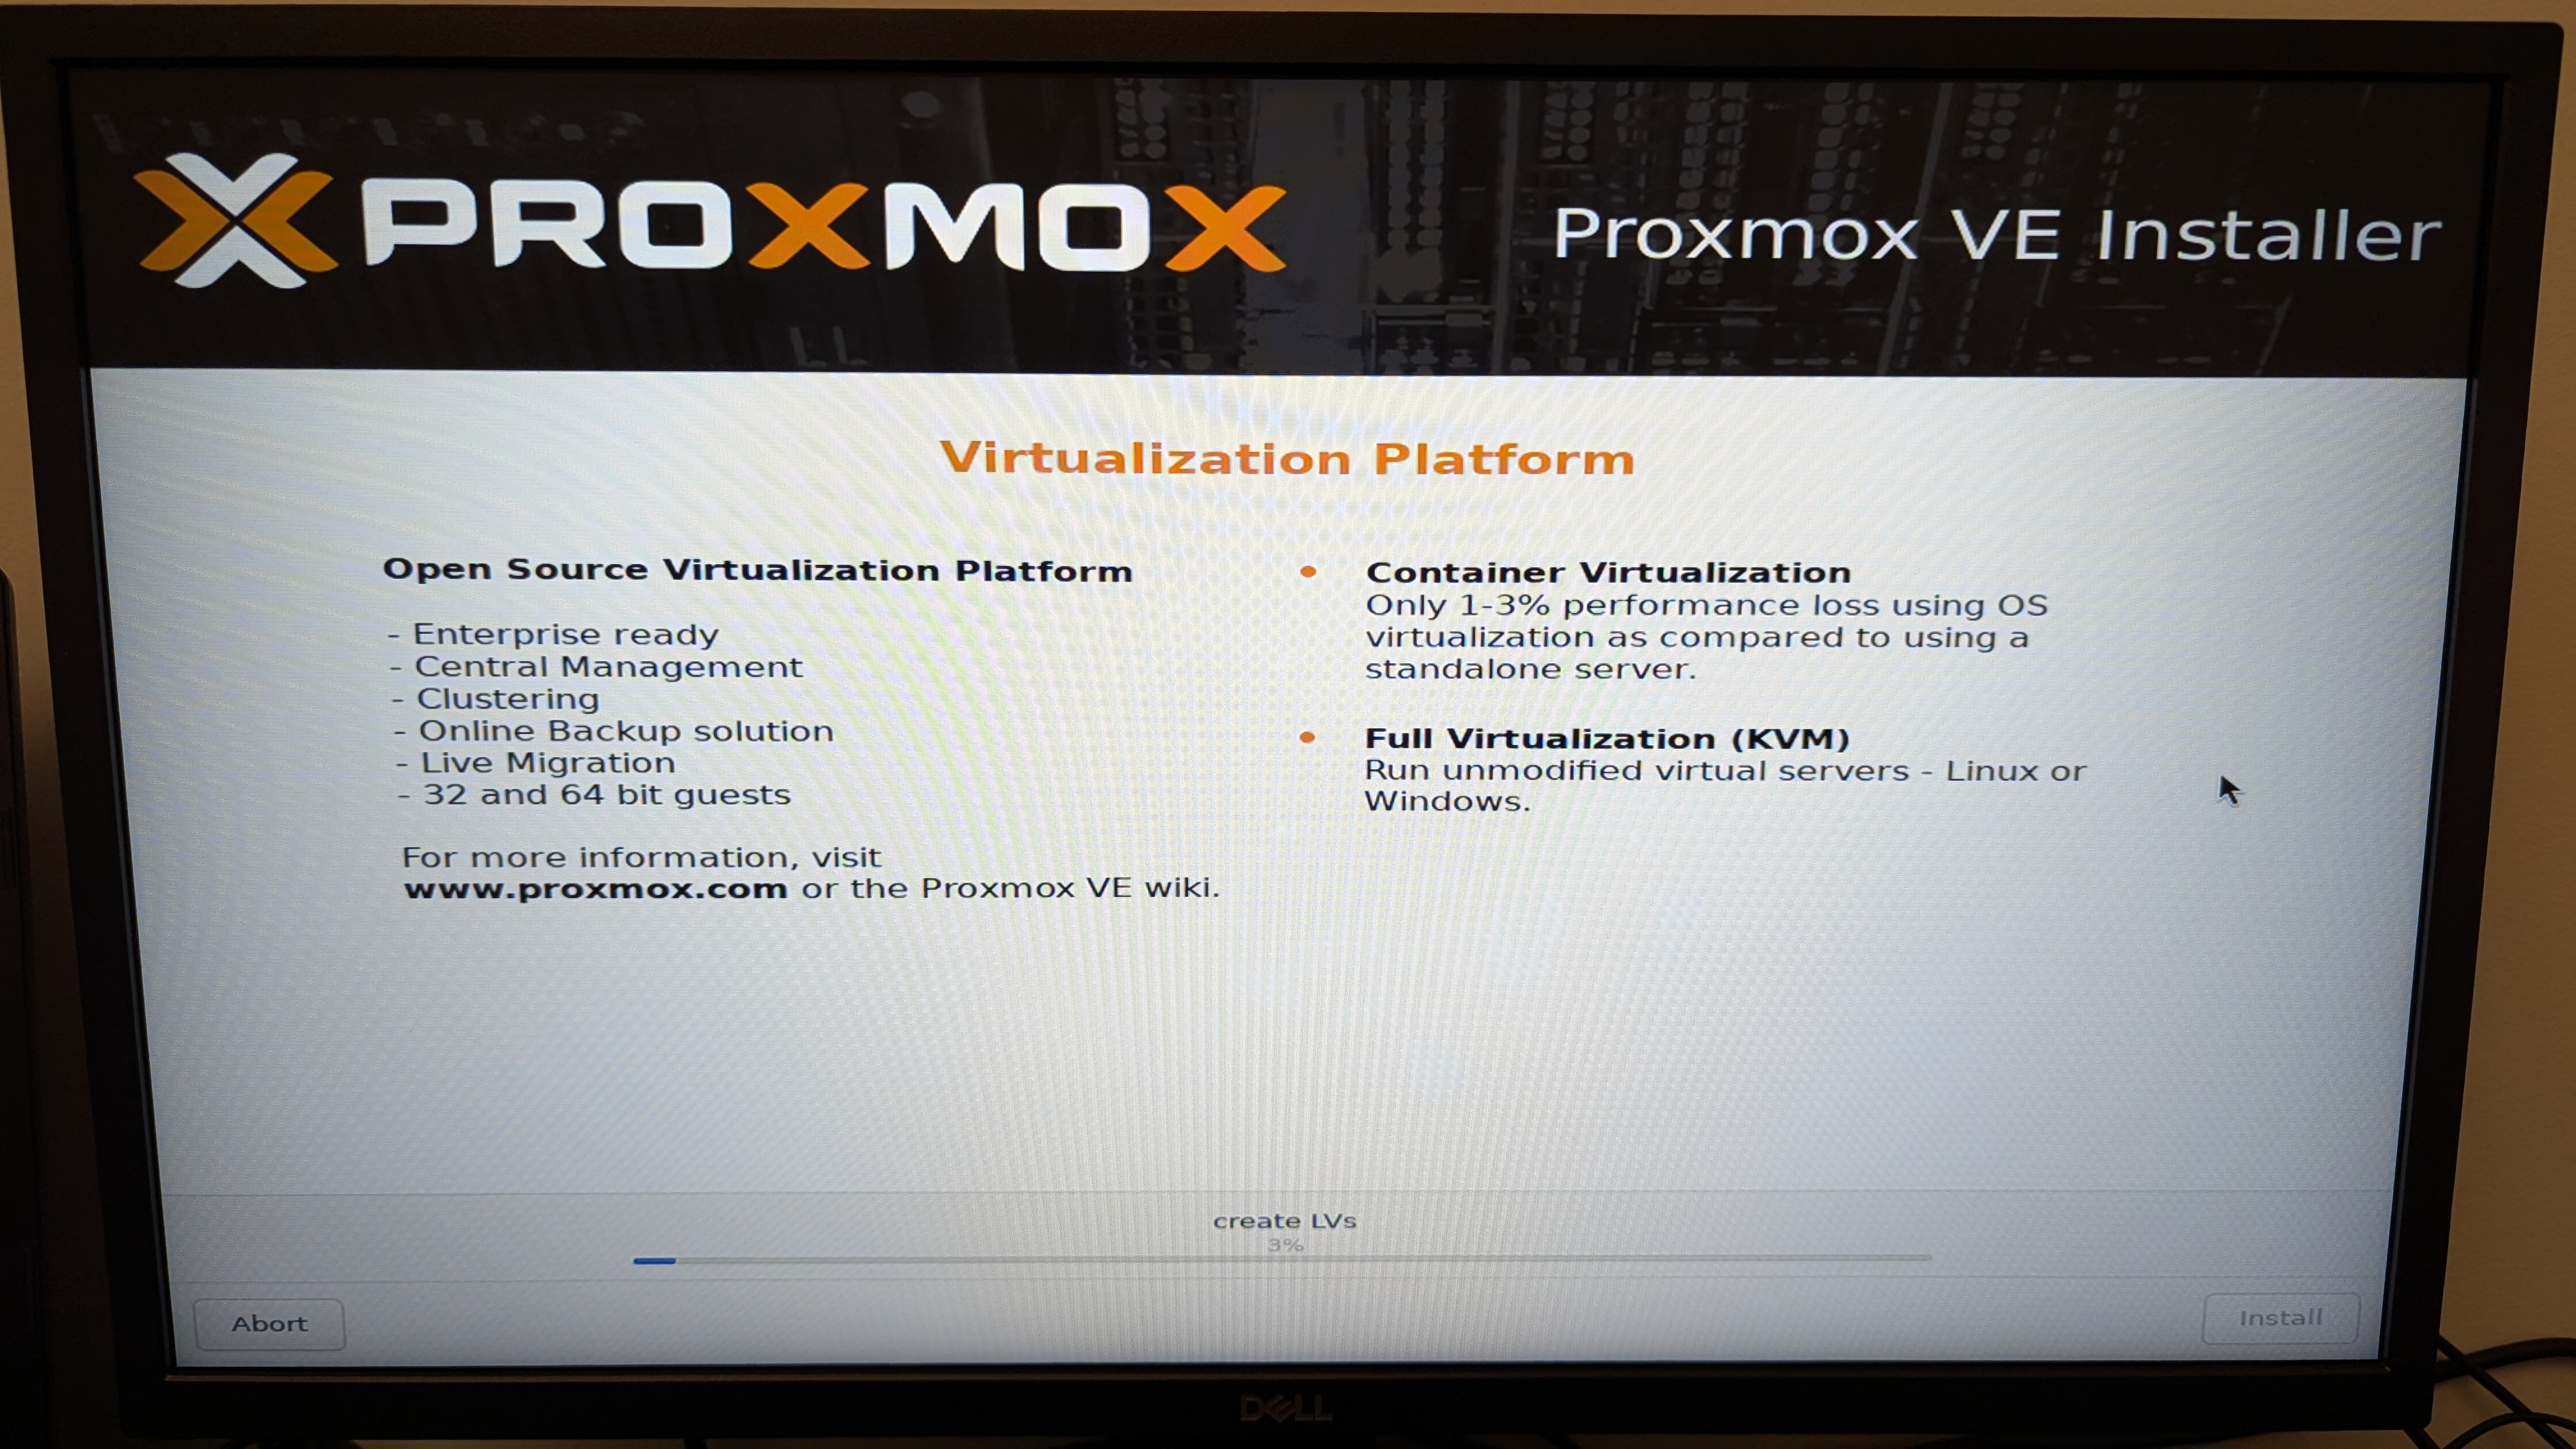
A few things stuck with me from that mess. Cheap USB sticks fail under BIOS read-write cycles in ways that look like software problems but aren’t, so spend the $15 on a known-good brand. Proxmox hybrid ISOs need DD mode in Rufus; ISO mode will not work no matter how many times you try. A fresh ISO re-download solves more than you’d expect, because partial corruption from a broken download manifests as tool incompatibility rather than an obvious file error. And the BIOS boot mode has to match how the USB was flashed, UEFI to UEFI or Legacy to Legacy, or nothing will detect anything.
The BIOS Gauntlet
Once Proxmox booted, it threw “no network interfaces found.” Cable was in, link lights were dark. The Integrated NIC was disabled in BIOS by default on this unit. One toggle later, the NIC came alive and Proxmox proceeded.
The BIOS settings that actually mattered for this build, in case you’re working on the same hardware: Secure Boot off, Fast Boot off, VT-x and VT-d enabled, SATA Operation set to AHCI, AC Recovery set to Power On so the box auto-restarts after power loss, USB Boot Support enabled, Integrated NIC enabled (the one that got me), and Boot Mode set to UEFI. UEFI Network Stack and TPM both stayed disabled. Neither matters for what I’m building.
Network configuration in the installer went smoothly once the NIC was actually enabled. I gave the 3050 a static IP of 192.168.x.50, pointed it at my router’s gateway, and set DNS to Cloudflare’s 1.1.1.1. The install completed without further issues.
I opened https://192.168.x.50:8006 on my ThinkPad and the Proxmox web interface loaded. Logged in as root, dismissed the subscription nag, and there it was. A working Type 1 hypervisor on my own hardware, ready to host my SOC analyst learning environment.
What’s Next
The actual lab work starts now.
Next steps are getting the 1TB HGST added as secondary storage, downloading my first Linux ISOs (Kali for the attacker side, Ubuntu Server for the target), and spinning up my first VMs. From there I want to build out pfSense as a virtual firewall for hands-on network segmentation, Elastic Stack for SIEM and log analysis, a vulnerability scanner pointed at my own target VMs, and a documented incident response runbook.
GitHub is the parallel project. I have an account I’ve never used. Every config, every playbook, every write-up from here forward gets documented there. A SOC analyst candidate with a public, well-documented homelab portfolio stands out from one with just certifications.
This entire build cost me effectively nothing in cash. The 3050 came from a local pickup. The drives were salvaged from a dead M720q. The biggest expense was the SanDisk USB stick at $15. The real cost was the hours wrestling with USB sticks, BIOS settings, three different imaging tools, and a NIC that wasn’t talking. That’s the part nobody puts in the YouTube videos.